Printing to a Printer or a File.
The Print dialog includes the most important options related to printing. More detailed options related to printing can be set in the Page Setup dialog, detailed in Section 15.2 ― Page Setup.. Press the to print out the workbook. Press the button to display the Print Preview.
The number of tabs and the content of some of the tabs of the Print dialog depends on the printer model you use. Some of the described tabs or options may not be available with your printer, especially when printing to a file.
- 15.1.1. Print General
- 15.1.2. Page Setup
- 15.1.3. Print Range
- 15.1.4. Print Job
- 15.1.5. Image Quality
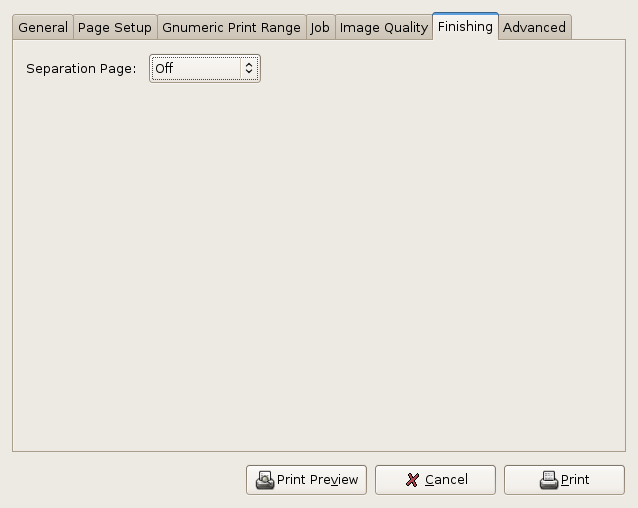
- 15.1.6. Finishing
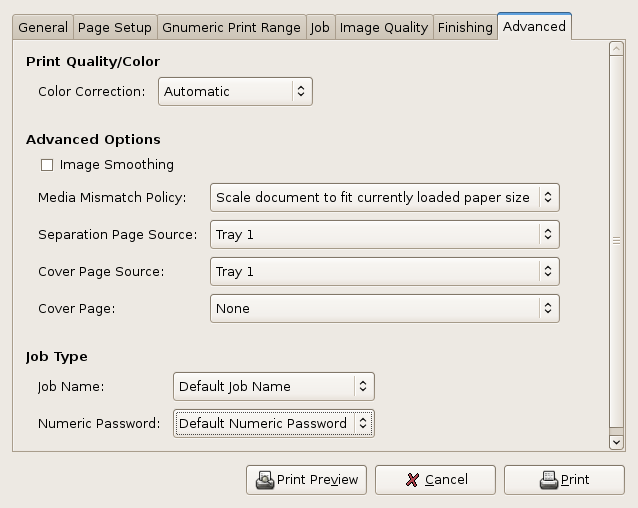
- 15.1.7. Advanced
15.1.1. Print General
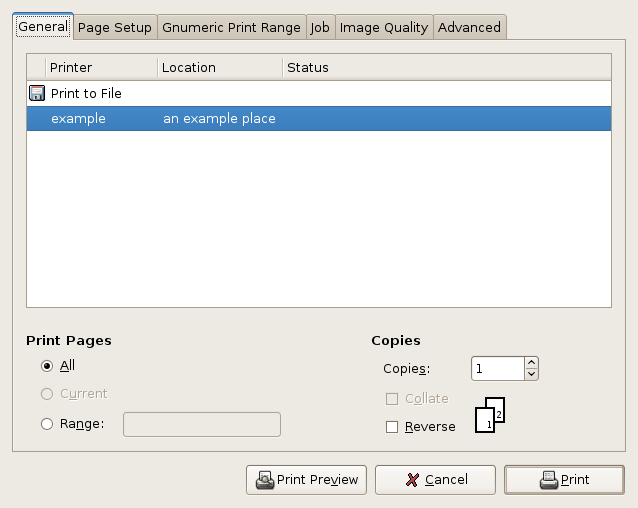
Select the preferred printer in the upper half of the tab. Your default printer is already highlighted when you open the Printer dialog. Optionally select the number of copies and a page range in the lower half of the dialog. Click on to send the document to your printing system.
When printing to a file you may want to change the output name and folder before printing. You can choose between saving a PostScript or a PDF file.
15.1.2. Page Setup

In the tab you can choose several options concerning the layout or the paper. Choose how many sheets shall appear on one piece of paper, about two-sided printing, limit the printed pages by even or odd page numbers or the scale in the layout section. Select the paper type (e.g. preprinted) and the paper source and output tray in the paper section.
The preview in the lower part of the tab gives you a small hint of how your printed document will look like.
15.1.3. Print Range
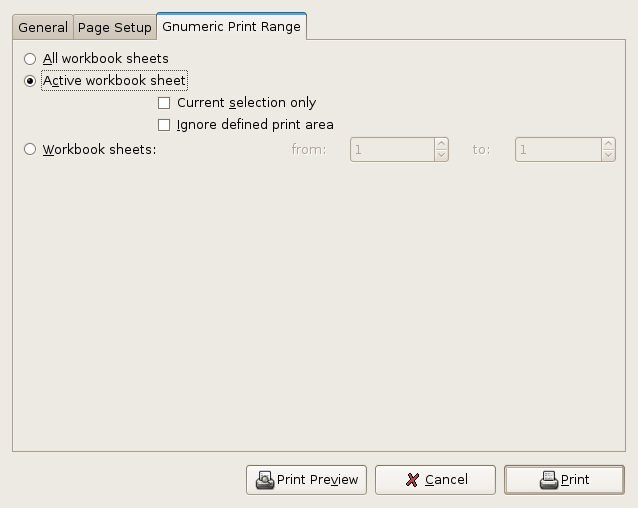
The tab gives you the opportunity to limit the range of the printed workbook. You may choose between printing the whole workbook, only the selected or not the selected area or a defined range of worksheets.
15.1.4. Print Job
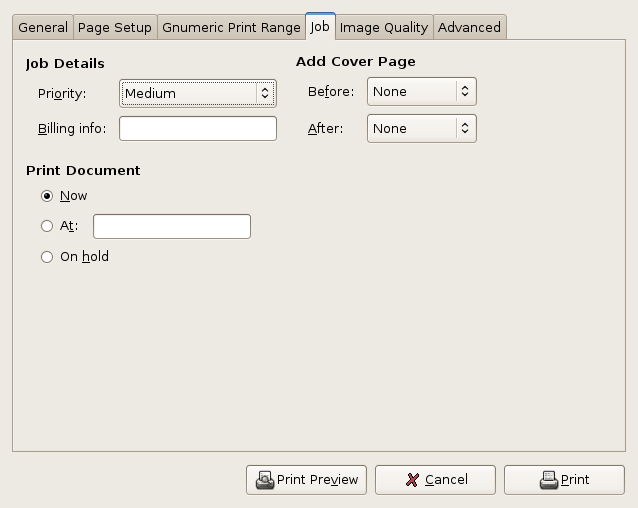
In the tab you may change the priority or add billing information to the print job. Also you can choose to add a cover page in front or after the printed worksheets. Finally you can decide whether your job should be printed right now or at a defined point in time.
Some options may be unavailable due to user restrictions. Ask your local administrator for further details.
15.1.5. Image Quality
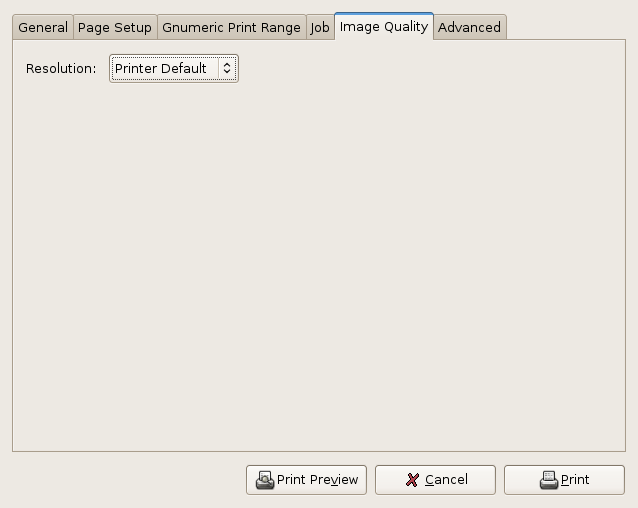
In the tab you can select the resolution of the printed document depending on your printer. No more, no less.