Usage
You can use the Nanny application to control the following per computer user:
3.1. Control time of computer usage
This is is the GNOME Nanny Administration Console. The window is divided into two sections, users and actions. The users are listed in the column of the left, and the actions are divided in the tabs at the top of the window.
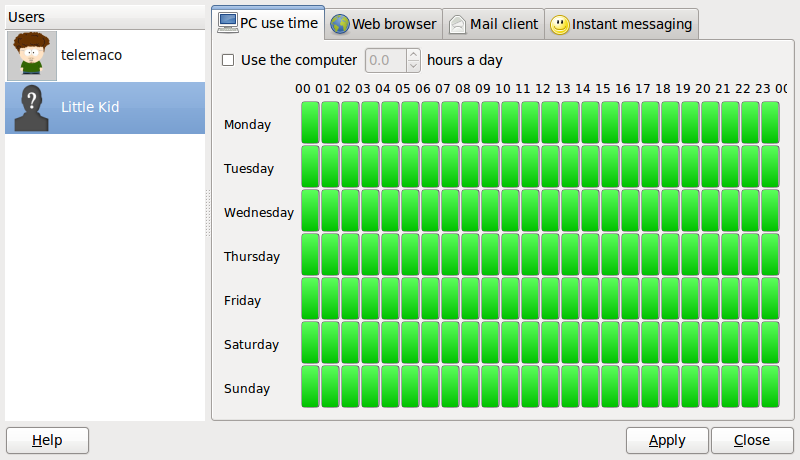
This tab controls the maximum number of hours a person can use the computer each day and at what times.
Change the number at the top to control for how long a person can use the computer. This is a total number, so the user can use this time in a non-stop session or break it in several.
In the weekly time grid red means blocked time, and green means permitted time.
The Apply button needs to be pressed for the changes to be made effective.
3.2. Control what the person can do.
Application use can be controlled in the same way, as defined in Section 3.1 ― Control time of computer usage. Each tab controls a different application.
Notice, each tab has a different 'maximum hours a day' option and weekly time grid. Have in mind no applications will be used during the blocked times of PC usage.
In the Web Browser action tab there is a 'Use web content filtering' button, this will enable the control of web filtering, meaning which sites can and which can't be browed by the user. Section 3.3 ― Control web access. explains how to do this.
3.3. Control web access.
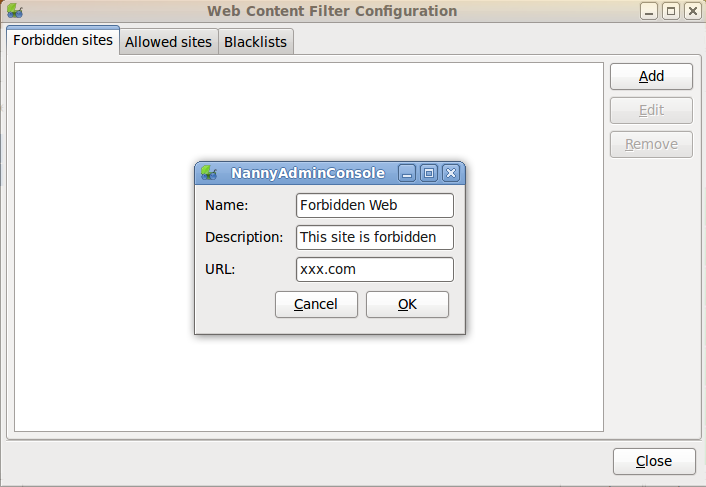
In the Web Content Filter Configuration you can handle which websites are allowed to be browsed by the user and which websites aren't. To do this you have three lists divided in tabs: the lists of forbidden sites, allowed sites, and the blacklists.
Inside the Forbidden sites and Allowed sites tabs you can add elements to the list, edit them or remove them.
When adding or edditing a website, it is normally best to write the domain in the URL field. For example: http://www.badweb.com, because then all the subpages will be blocked (like http://www.badweb.com/asdas/page01/something.hmtl).
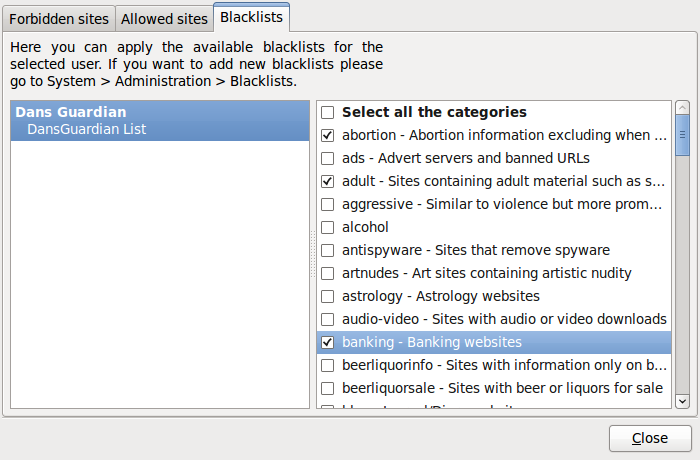
In the Blacklists tab you can apply the available blacklists and the groups contained in these blacklists.
Importing of the blacklists is explained in Section 3.4 ― Blacklist Configuration.
3.4. Blacklist Configuration.
The Blacklist Configuration window is accesible from System > Administration > Blacklists. This is where you can import, edit and remove blacklists.
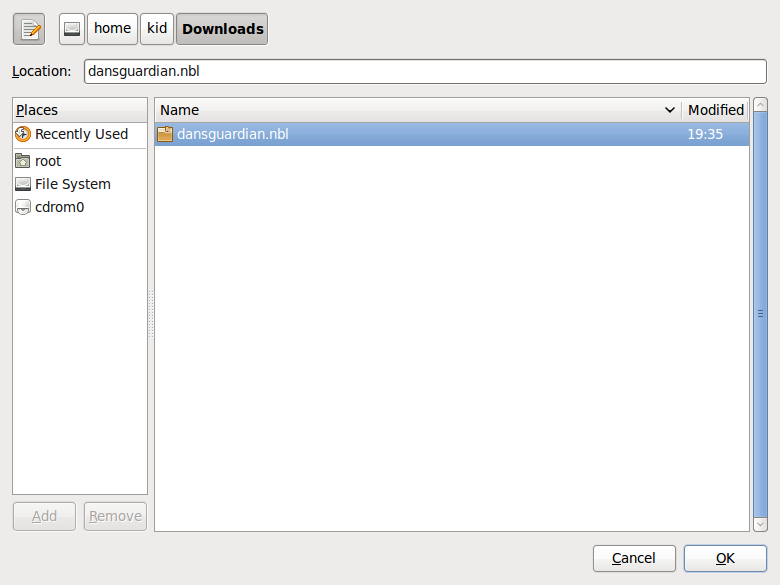
Blacklists are imported from files. In this example a blacklist file has been downloaded from dansguardian and is being imported into GNOME Nanny. It is recommended to keep the blacklists as up to date as possible.