To print labels or cards, choose File ▸ Print to display the Print dialog. Once print options have been selected, click Print to print the labels or cards. To simply preview the results, click Print Preview instead.
The Print dialog allows you to specify the following print options:
For simple labels or cards (no document merge), the job tabbed section contains the following copy controls.
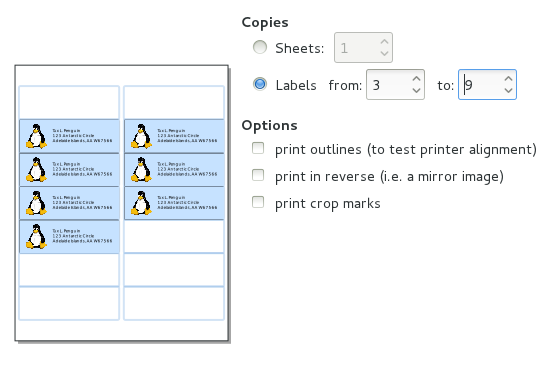
The number of copies of the label can be selected by choosing the number of full sheets to print, or a specific subset of labels on a single sheet.
The mini-preview can also be used to graphically select the subset of labels by clicking the first label on the mini-preview and dragging to the last label.
For labels or cards using the document merge (also known as "mail merge") capability, the job tabbed section contains the following merge controls instead of copy controls.
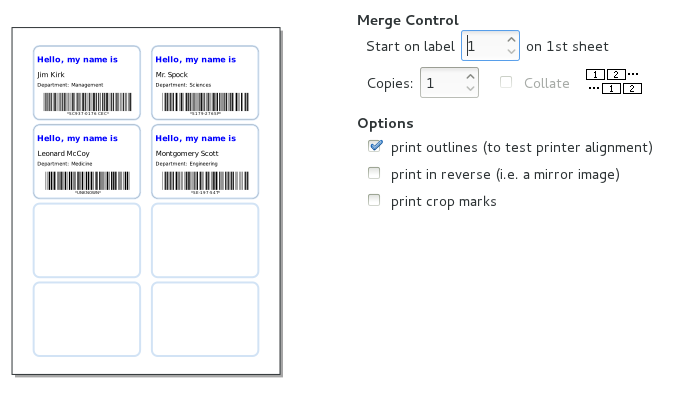
The total number of labels or cards printed is the product of the number of records in the merge source and the number of copies selected. If multiple copies are selected, these can be either collated (copies of the same record grouped together) or un-collated (one copy each record is printed before next copy).
Printing can begin on any label on the first sheet. This can be selected with the Start on label spinbutton.
The mini-preview can also be used to graphically select this first label, by clicking on the desired label in the mini-preview.
The following options can also be selected.
print outlines
Print outlines of labels. This option is useful for dry-runs, to test printer alignment.
print in reverse
Prints the labels as mirror images. This option is useful for printing on clear labels that will be viewed from the reverse side (e.g. in a car window).
print crop marks
Prints crop marks along the edge of the sheet. This option is useful for printing on blank stock, to be cut after printing. This option does not work well with all templates.
Got a comment? Spotted an error? Found the instructions unclear? Send feedback about this page.