In this example we are going to throw a party and need to print mailing address labels for our invitations. We have a list of our closest friends that we created in gnumeric and exported as the following CSV file. It should be noted that not everyone has a middle initial or a two line address.
LAST,FIRST,MI,ADDR1,ADDR2,CITY,STATE,ZIP
,,,,,,,
Critter,Ess,S,"123 Faux St.",,Alexandria,VA,22310
Doe,John,,"Apt 1X","451 Mystery St.",Trenton,NJ,08601
Summers,Joyce,,"1630 Revello Dr",,Sunnydale,CA,95037
McGarret,Steve,O,"404 Piikoi Street",,Honolulu,HI,96813
Kramer,Cosmo,,"Apt 5B","129 W. 81 St.","New York",NY,10024-7207
In glabels we have created a new glabels document using the Avery 5512 "Address Labels" template. Next we use the Objects ▸ Merge Properties menu item to display the merge properties dialog. We use this dialog to select the source type (in our case CSV with keys on line 1) and the merge source (filename) as shown.
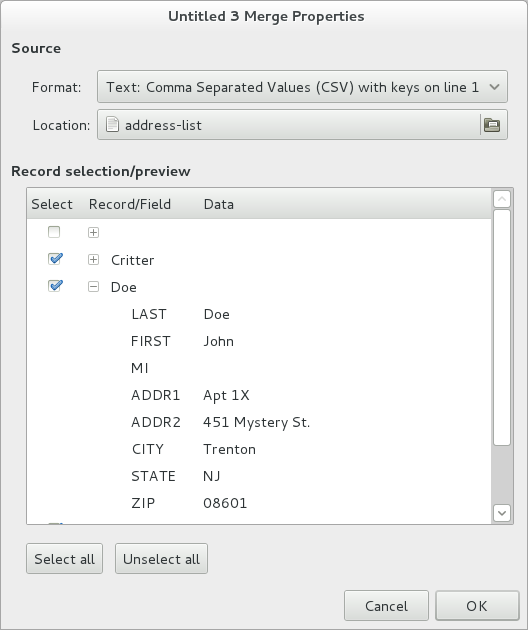
Before applying the merge source, we uncheck the first record since it only contains empty fields. It is an artifact of our original gnumeric spreadsheet and would simply waste our first label. We could also unselect any other records that we didn't want to print a label for.
We can also view each record in more detail by clicking on the appropriate expander (the little triangles) as shown. Once we are satisfied with the selections in this dialog we click OK to accept the changes.
Now we start adding objects to our glabels document as shown.
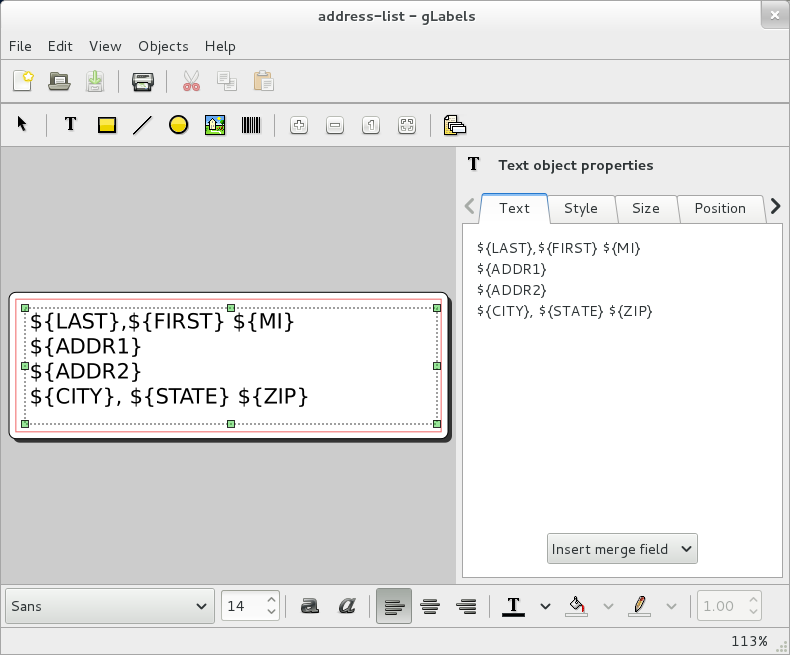
In this example we have a single text object. This text object contains all of our merge fields organized on multiple lines as a mailing address. Notice that fields ${ADDR1} and ${ADDR2} are each located with no other text on their own lines. When glabels encounters a field as the only text on a line, it will not expand the line if the field is empty.
Now we can print our address labels by selecting the File ▸ Print menu item. This will display print dialog as shown below.
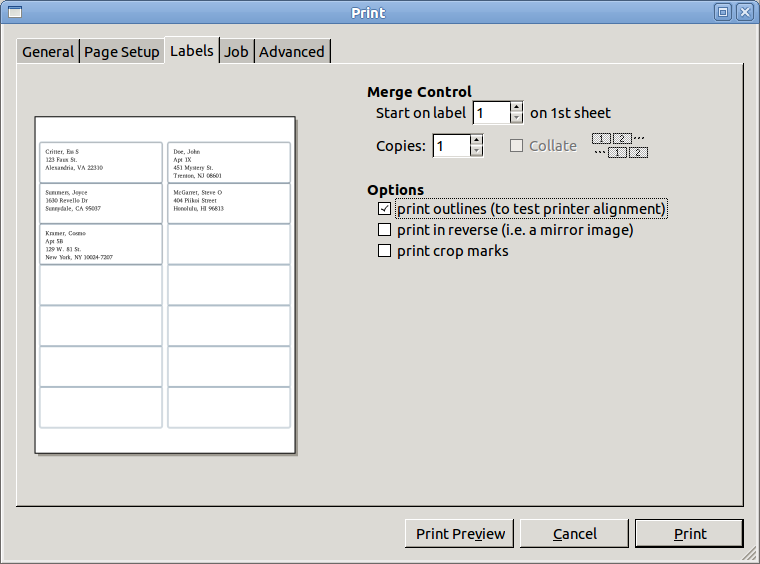
Just to make sure our labels are going to look okay, we select the Print outlines option and click Print Preview. This will display a print preview dialog as shown below.
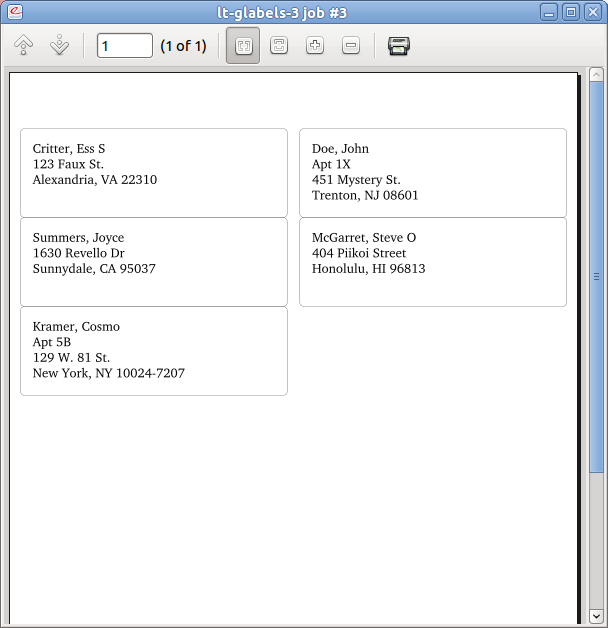
Everything looks good, so we can now load up our printer with the appropriate label stock, print our address labels and start mailing our party invitations.
Got a comment? Spotted an error? Found the instructions unclear? Send feedback about this page.